
Follow these steps to configure Single Sign-On (SSO) with Okta using SAML 2.0 integration for AppSecEngineer.
Step 1: Sign in to Okta Admin Panel- Log in to your Okta Admin account.
-
Navigate to Applications → Click Create App Integration.
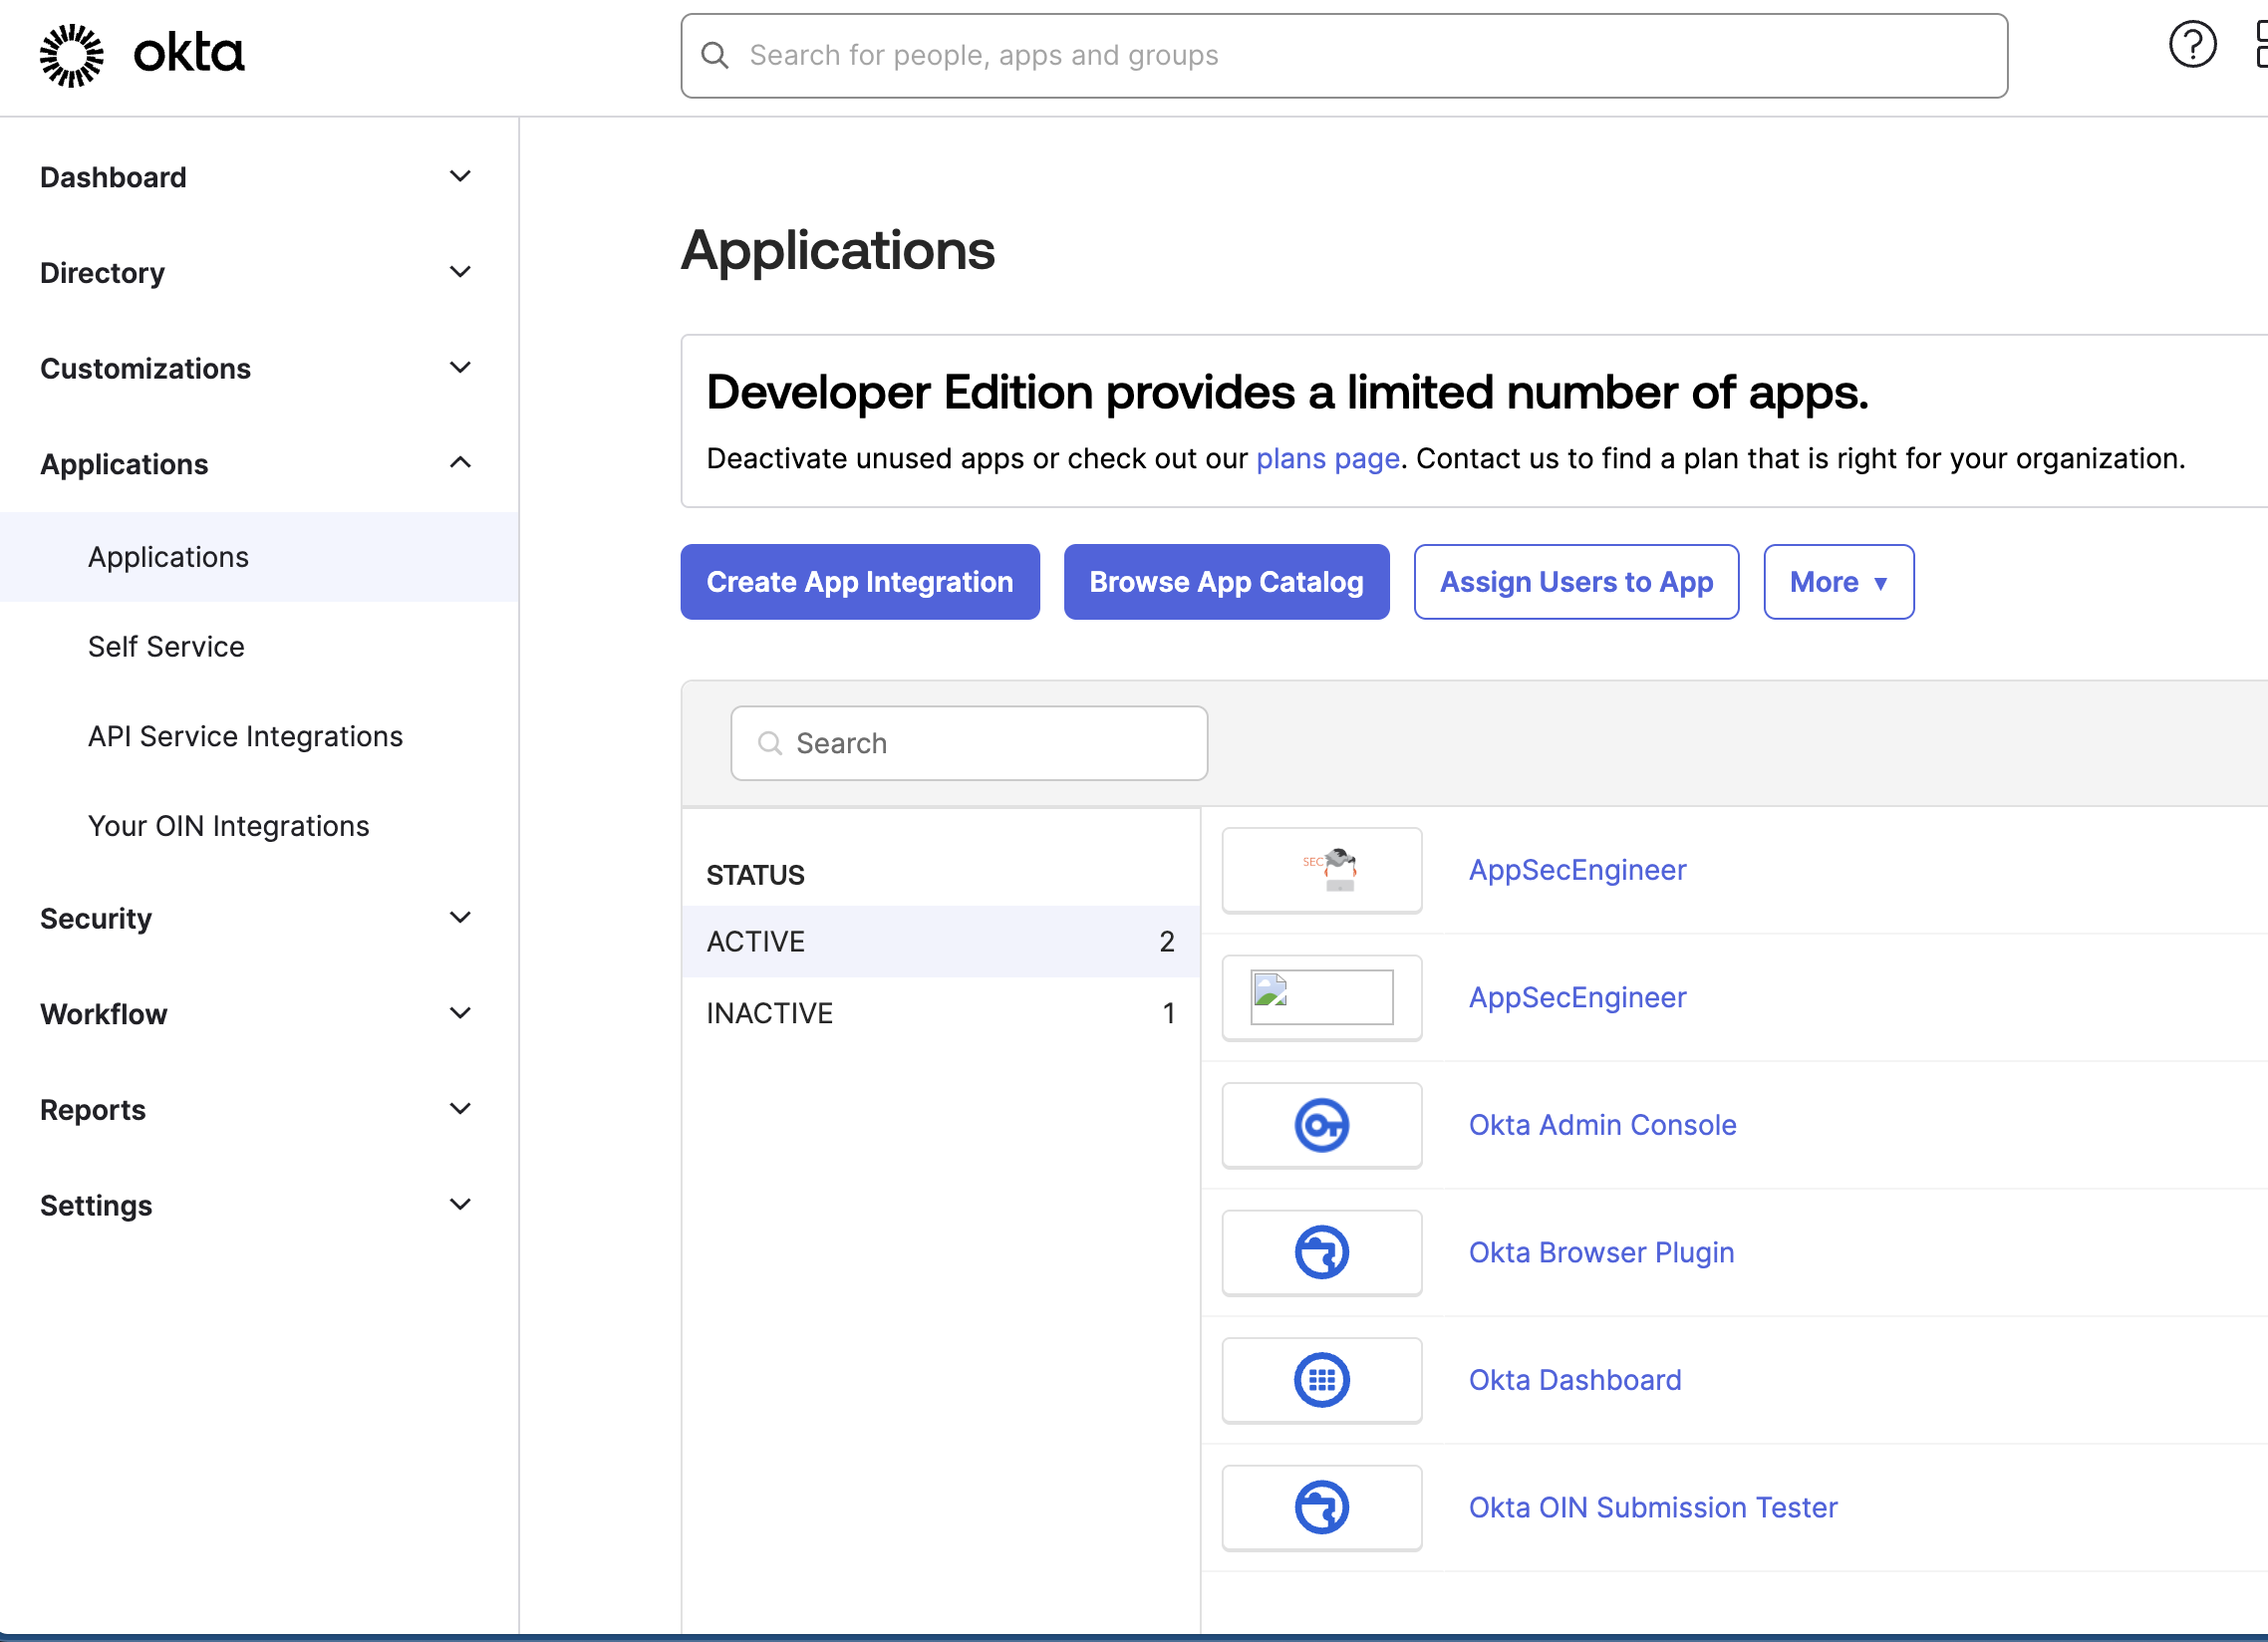 The image displays the Okta Applications dashboard, where the AppSecEngineer application appears in both active and inactive statuses. The interface includes options to create app integration, browse the app catalog, and assign users to an app.
- Choose SAML 2.0 as the sign-in method.
-
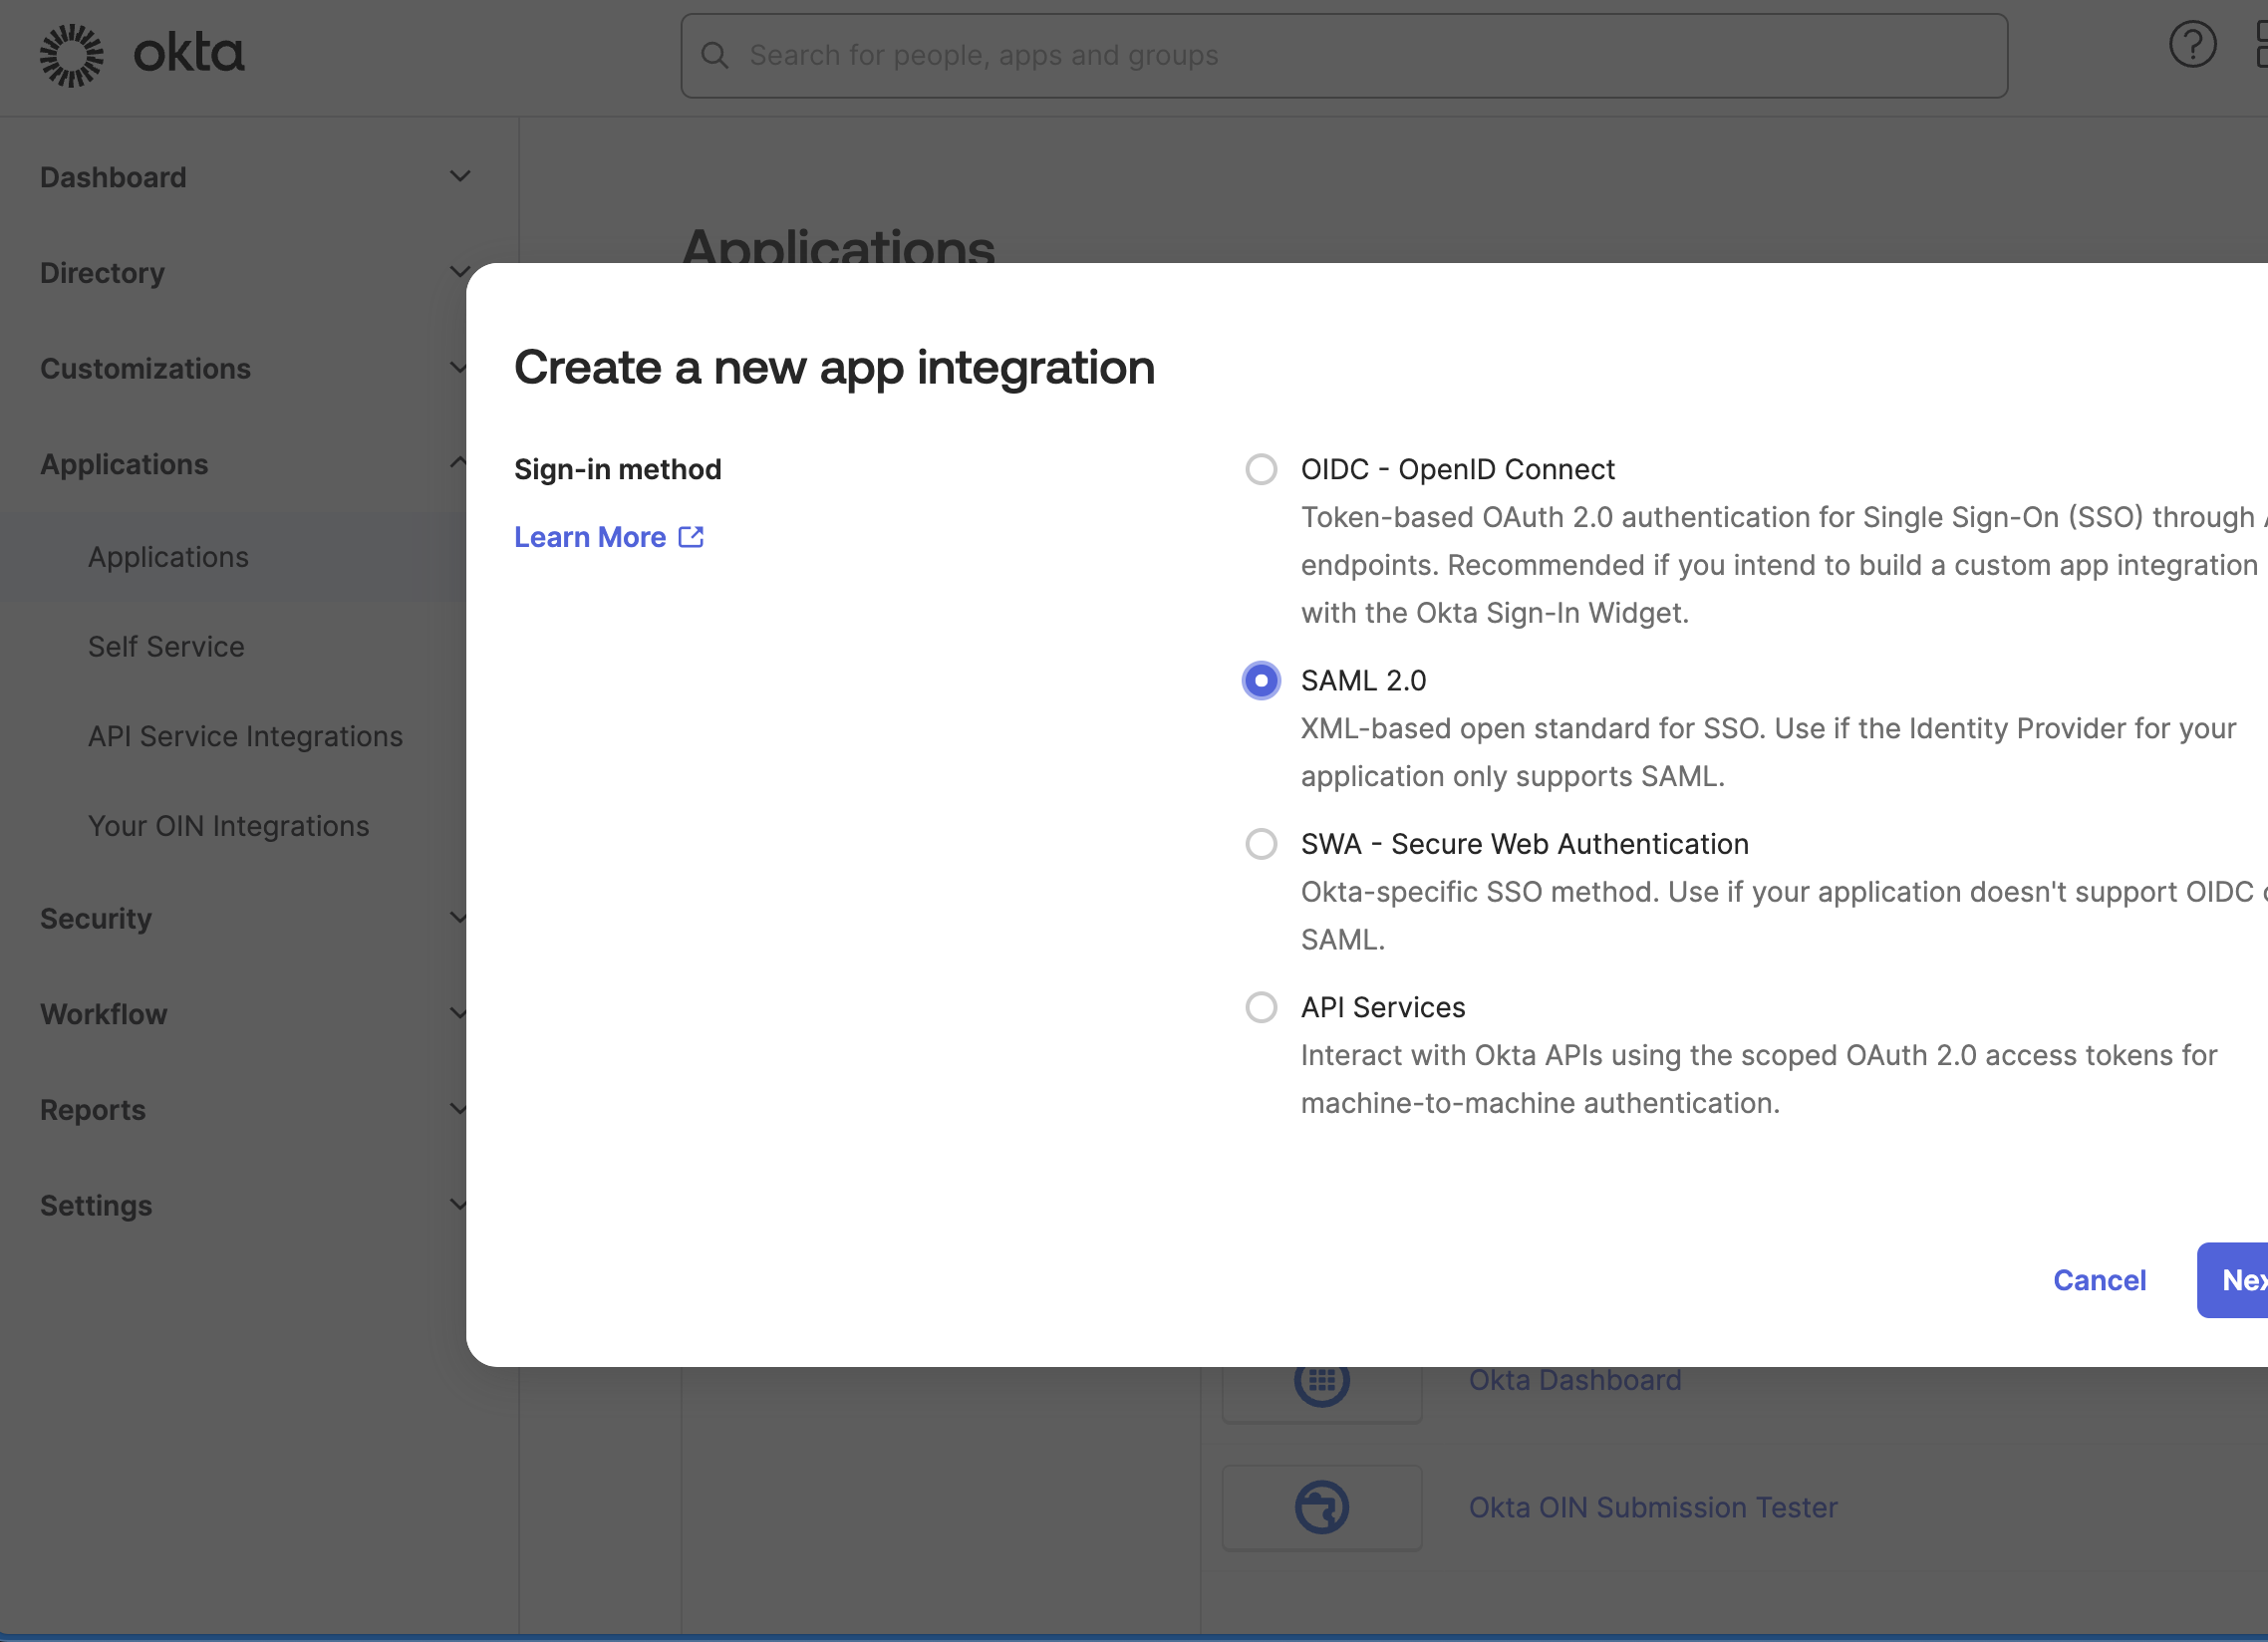 Click Next to continue.
-
In the App Name field, enter a recognizable name like AppSecEngineer-SSO.
 The image shows the Okta dashboard with the 'Create SAML Integration' page open. The setup is in the General Settings stage, where the App name is set as AppSecEngineer. There is an option to upload an App logo (optional) and a checkbox for App visibility (allowing users to hide the application icon).
 - Click Next to proceed.
- In the Single Sign-On URL, enter:
https://auth.learning.appsecengineer.com/saml2/idpresponse - In the Audience URI (SP Entity ID), enter:
urn:amazon:cognito:sp:us-east-2_FJ1zCXvmb -
Set NameID Format to EmailAddress.
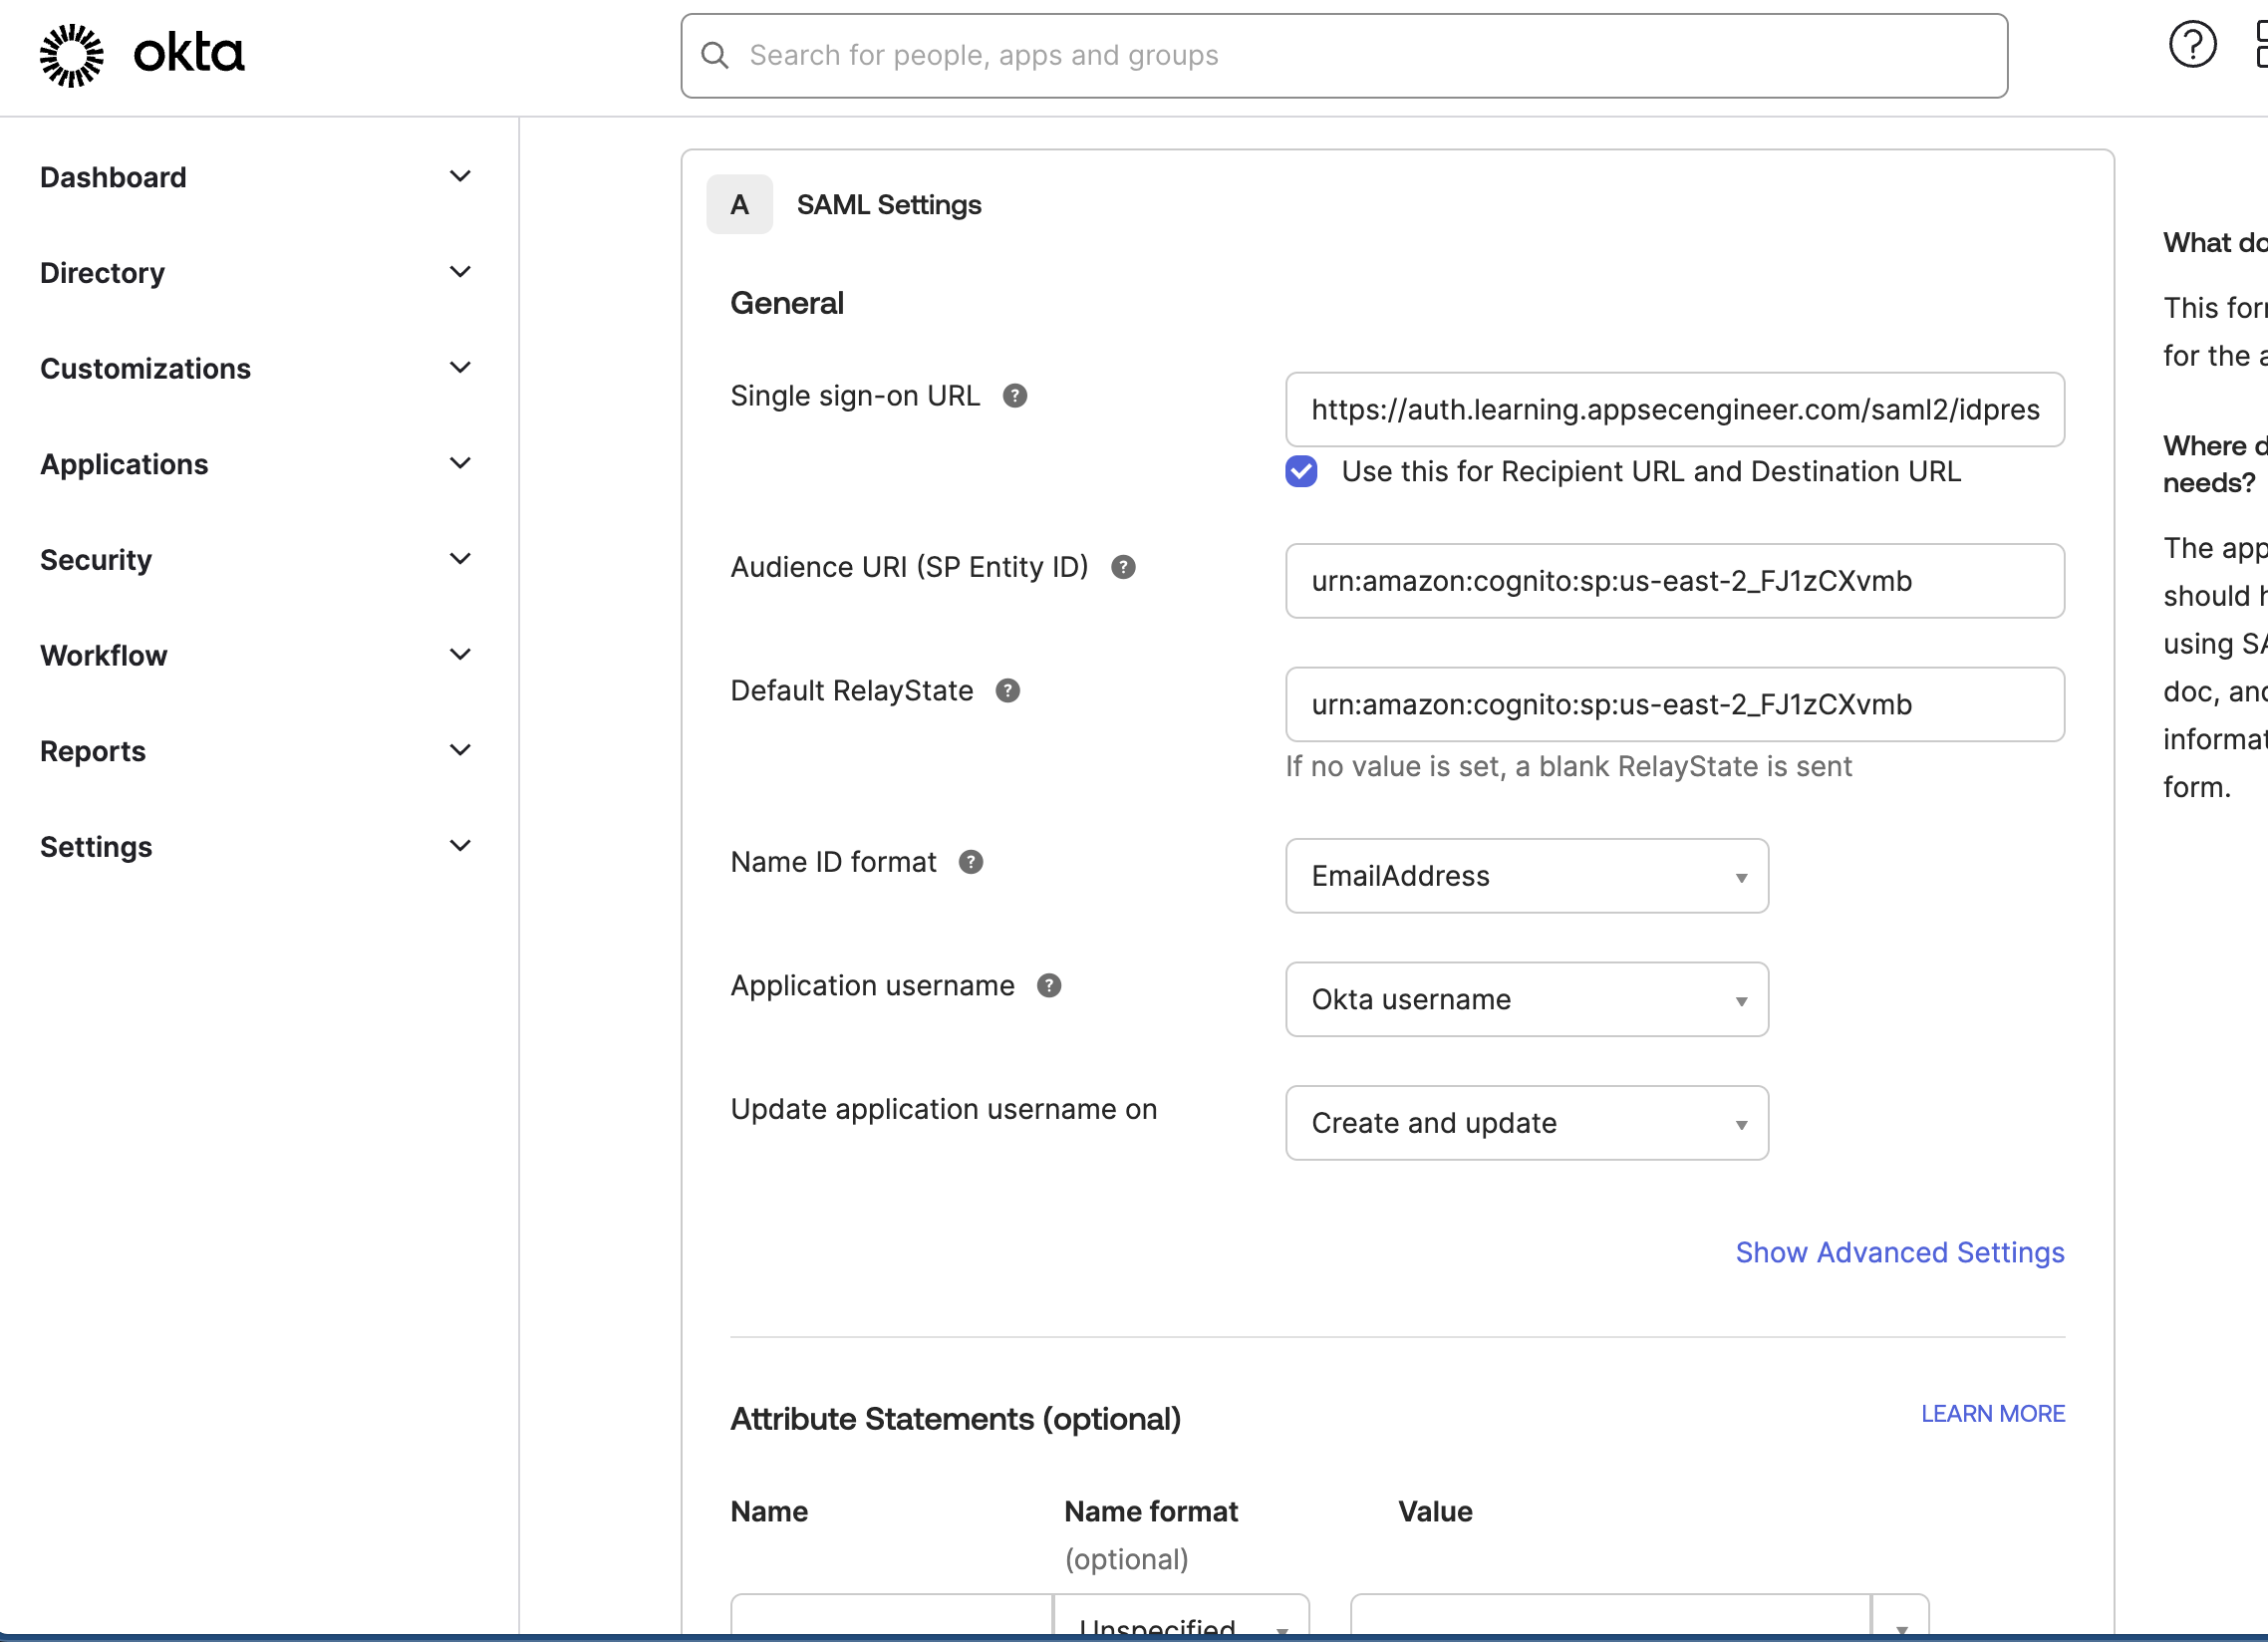 The image displays the SAML Settings in Okta for AppSecEngineer, showing the Single Sign-On (SSO) URL, Audience URI (Amazon Cognito), Name ID format (EmailAddress), and application username settings. There is also an option to add attribute statements.
Map the attributes as follows:
- Email →
user.email - First Name →
user.firstName -
Last Name → user.lastName
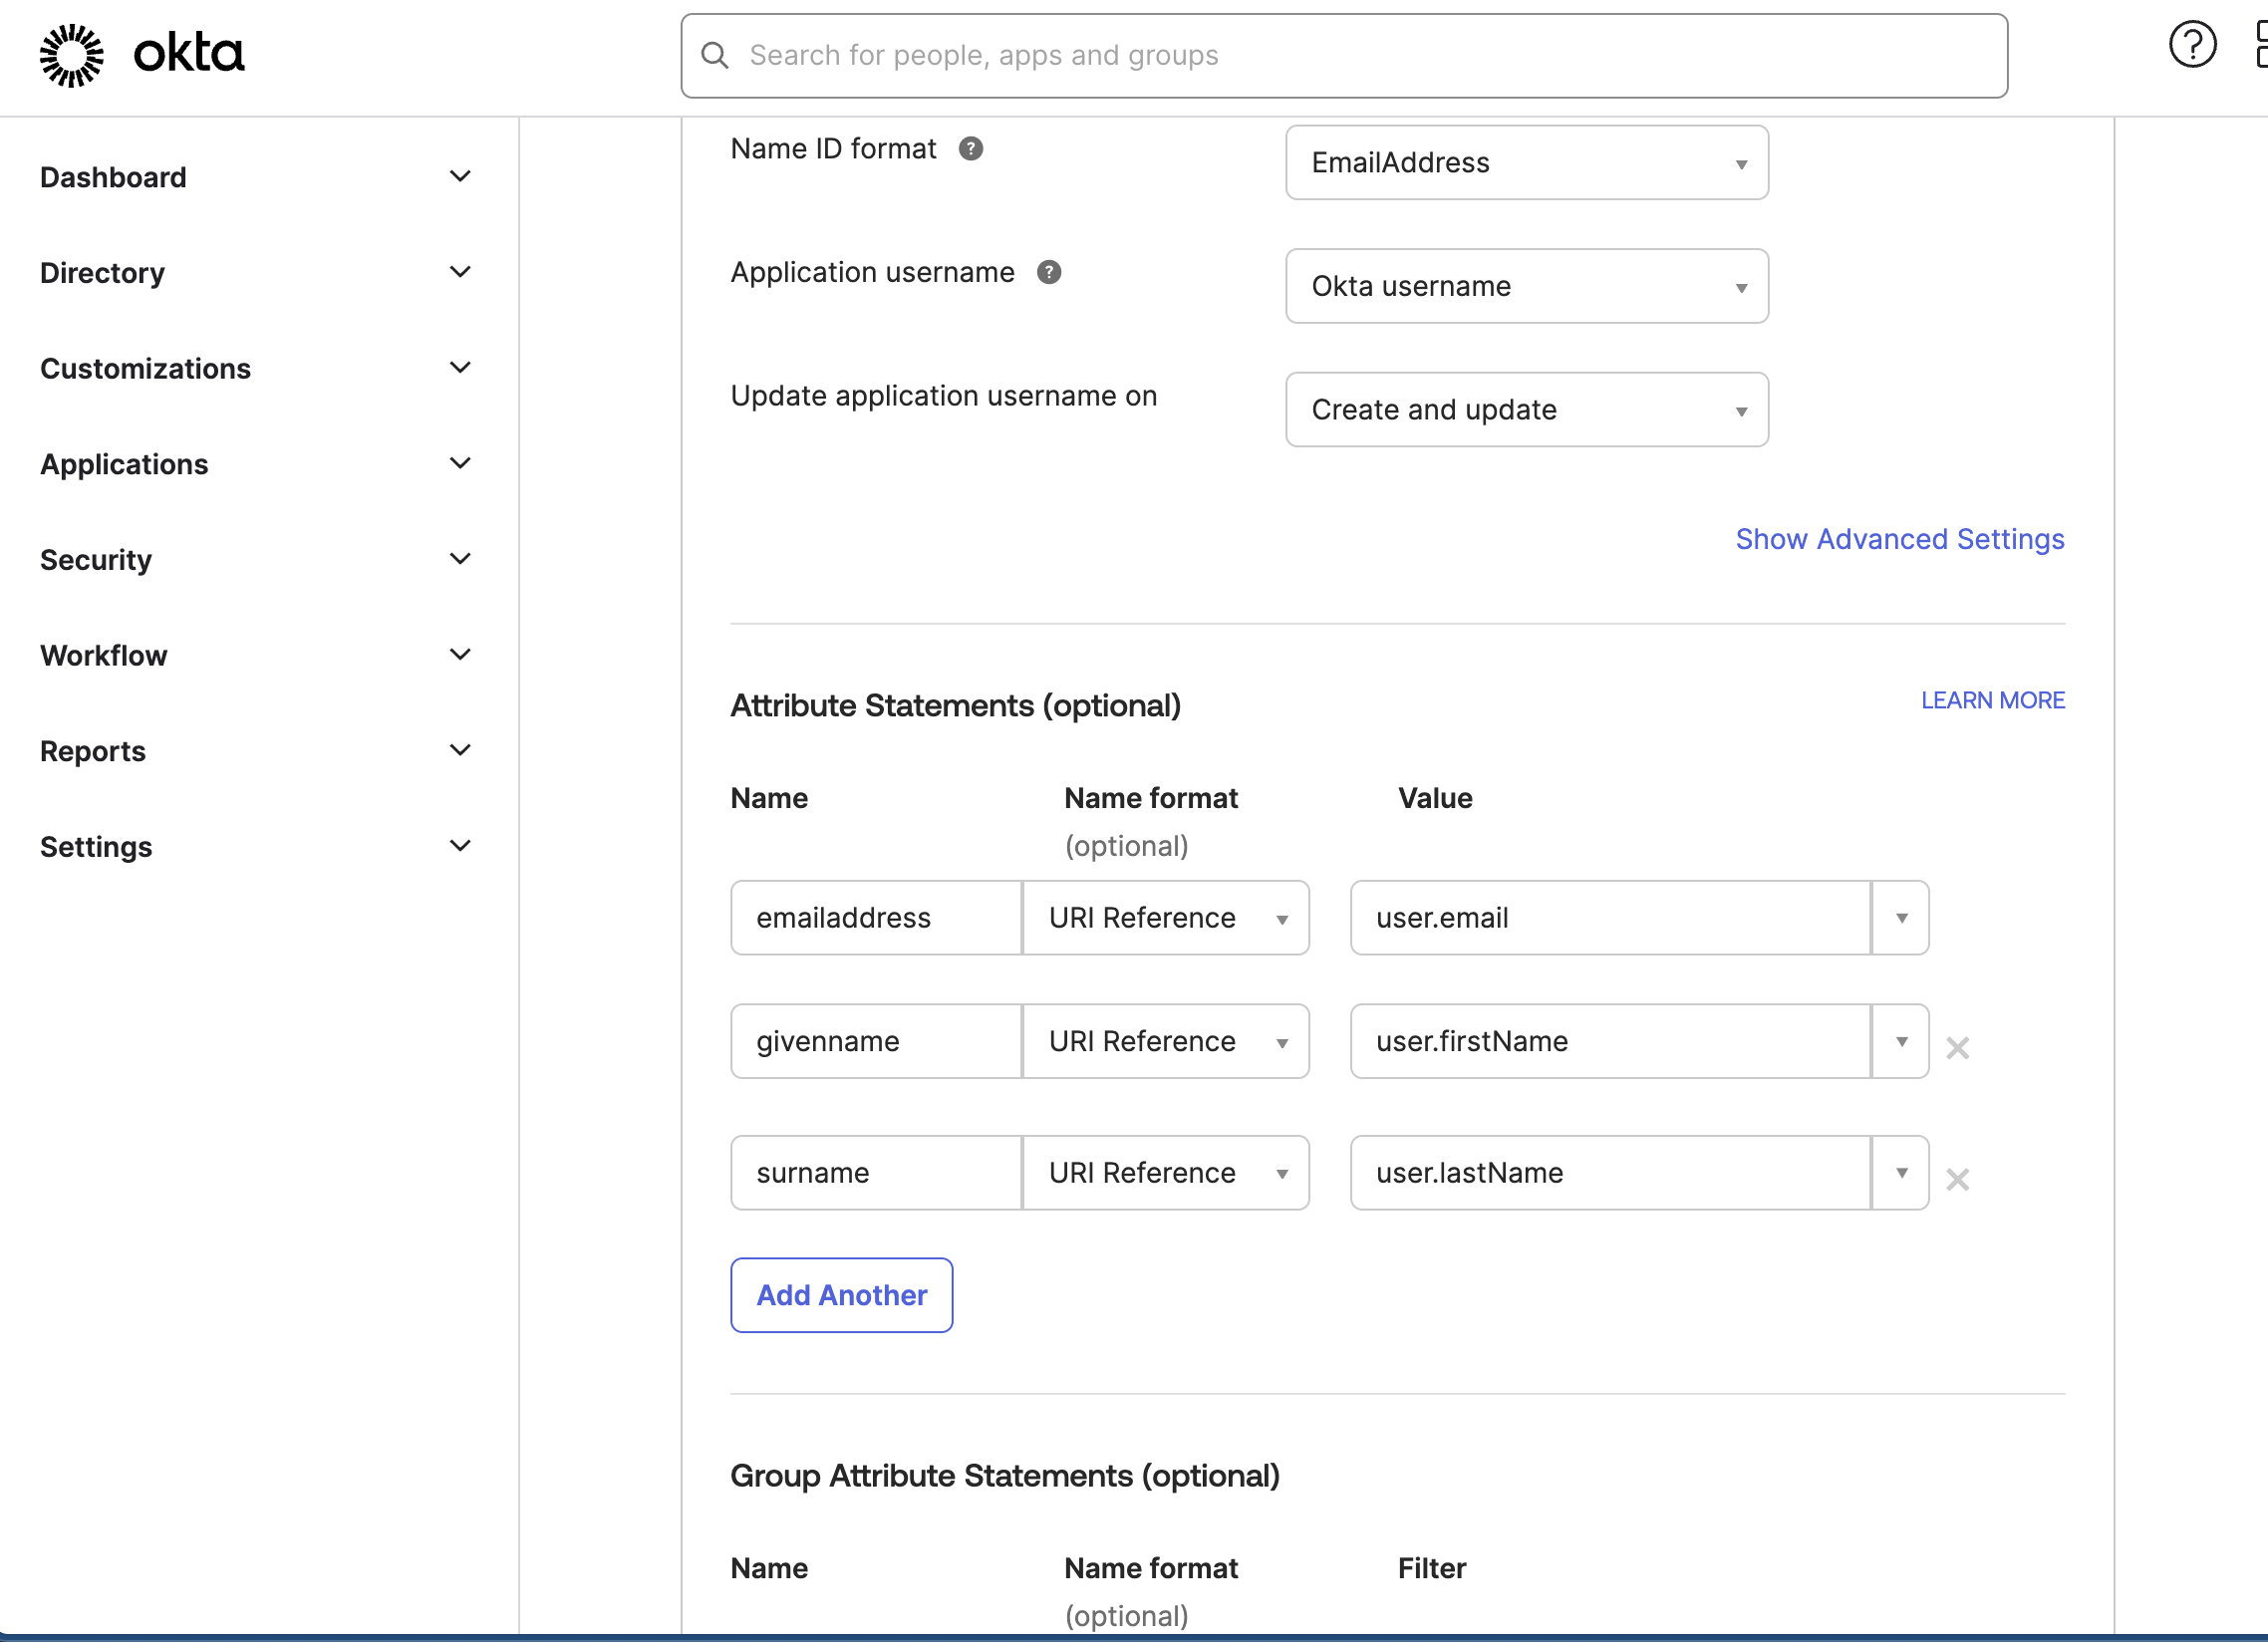 The image displays the attribute statements section in Okta's SAML settings. It maps the email, first name (given name), and last name (surname) to corresponding user attributes. The option to add another attribute statement is visible, along with a section for group attribute statements.
-
Select "This is an Internal App" and click Finish.
 Final step of Okta SAML integration with an internal app selection option.
-
In the Application Sign-On section, locate the Metadata URL.
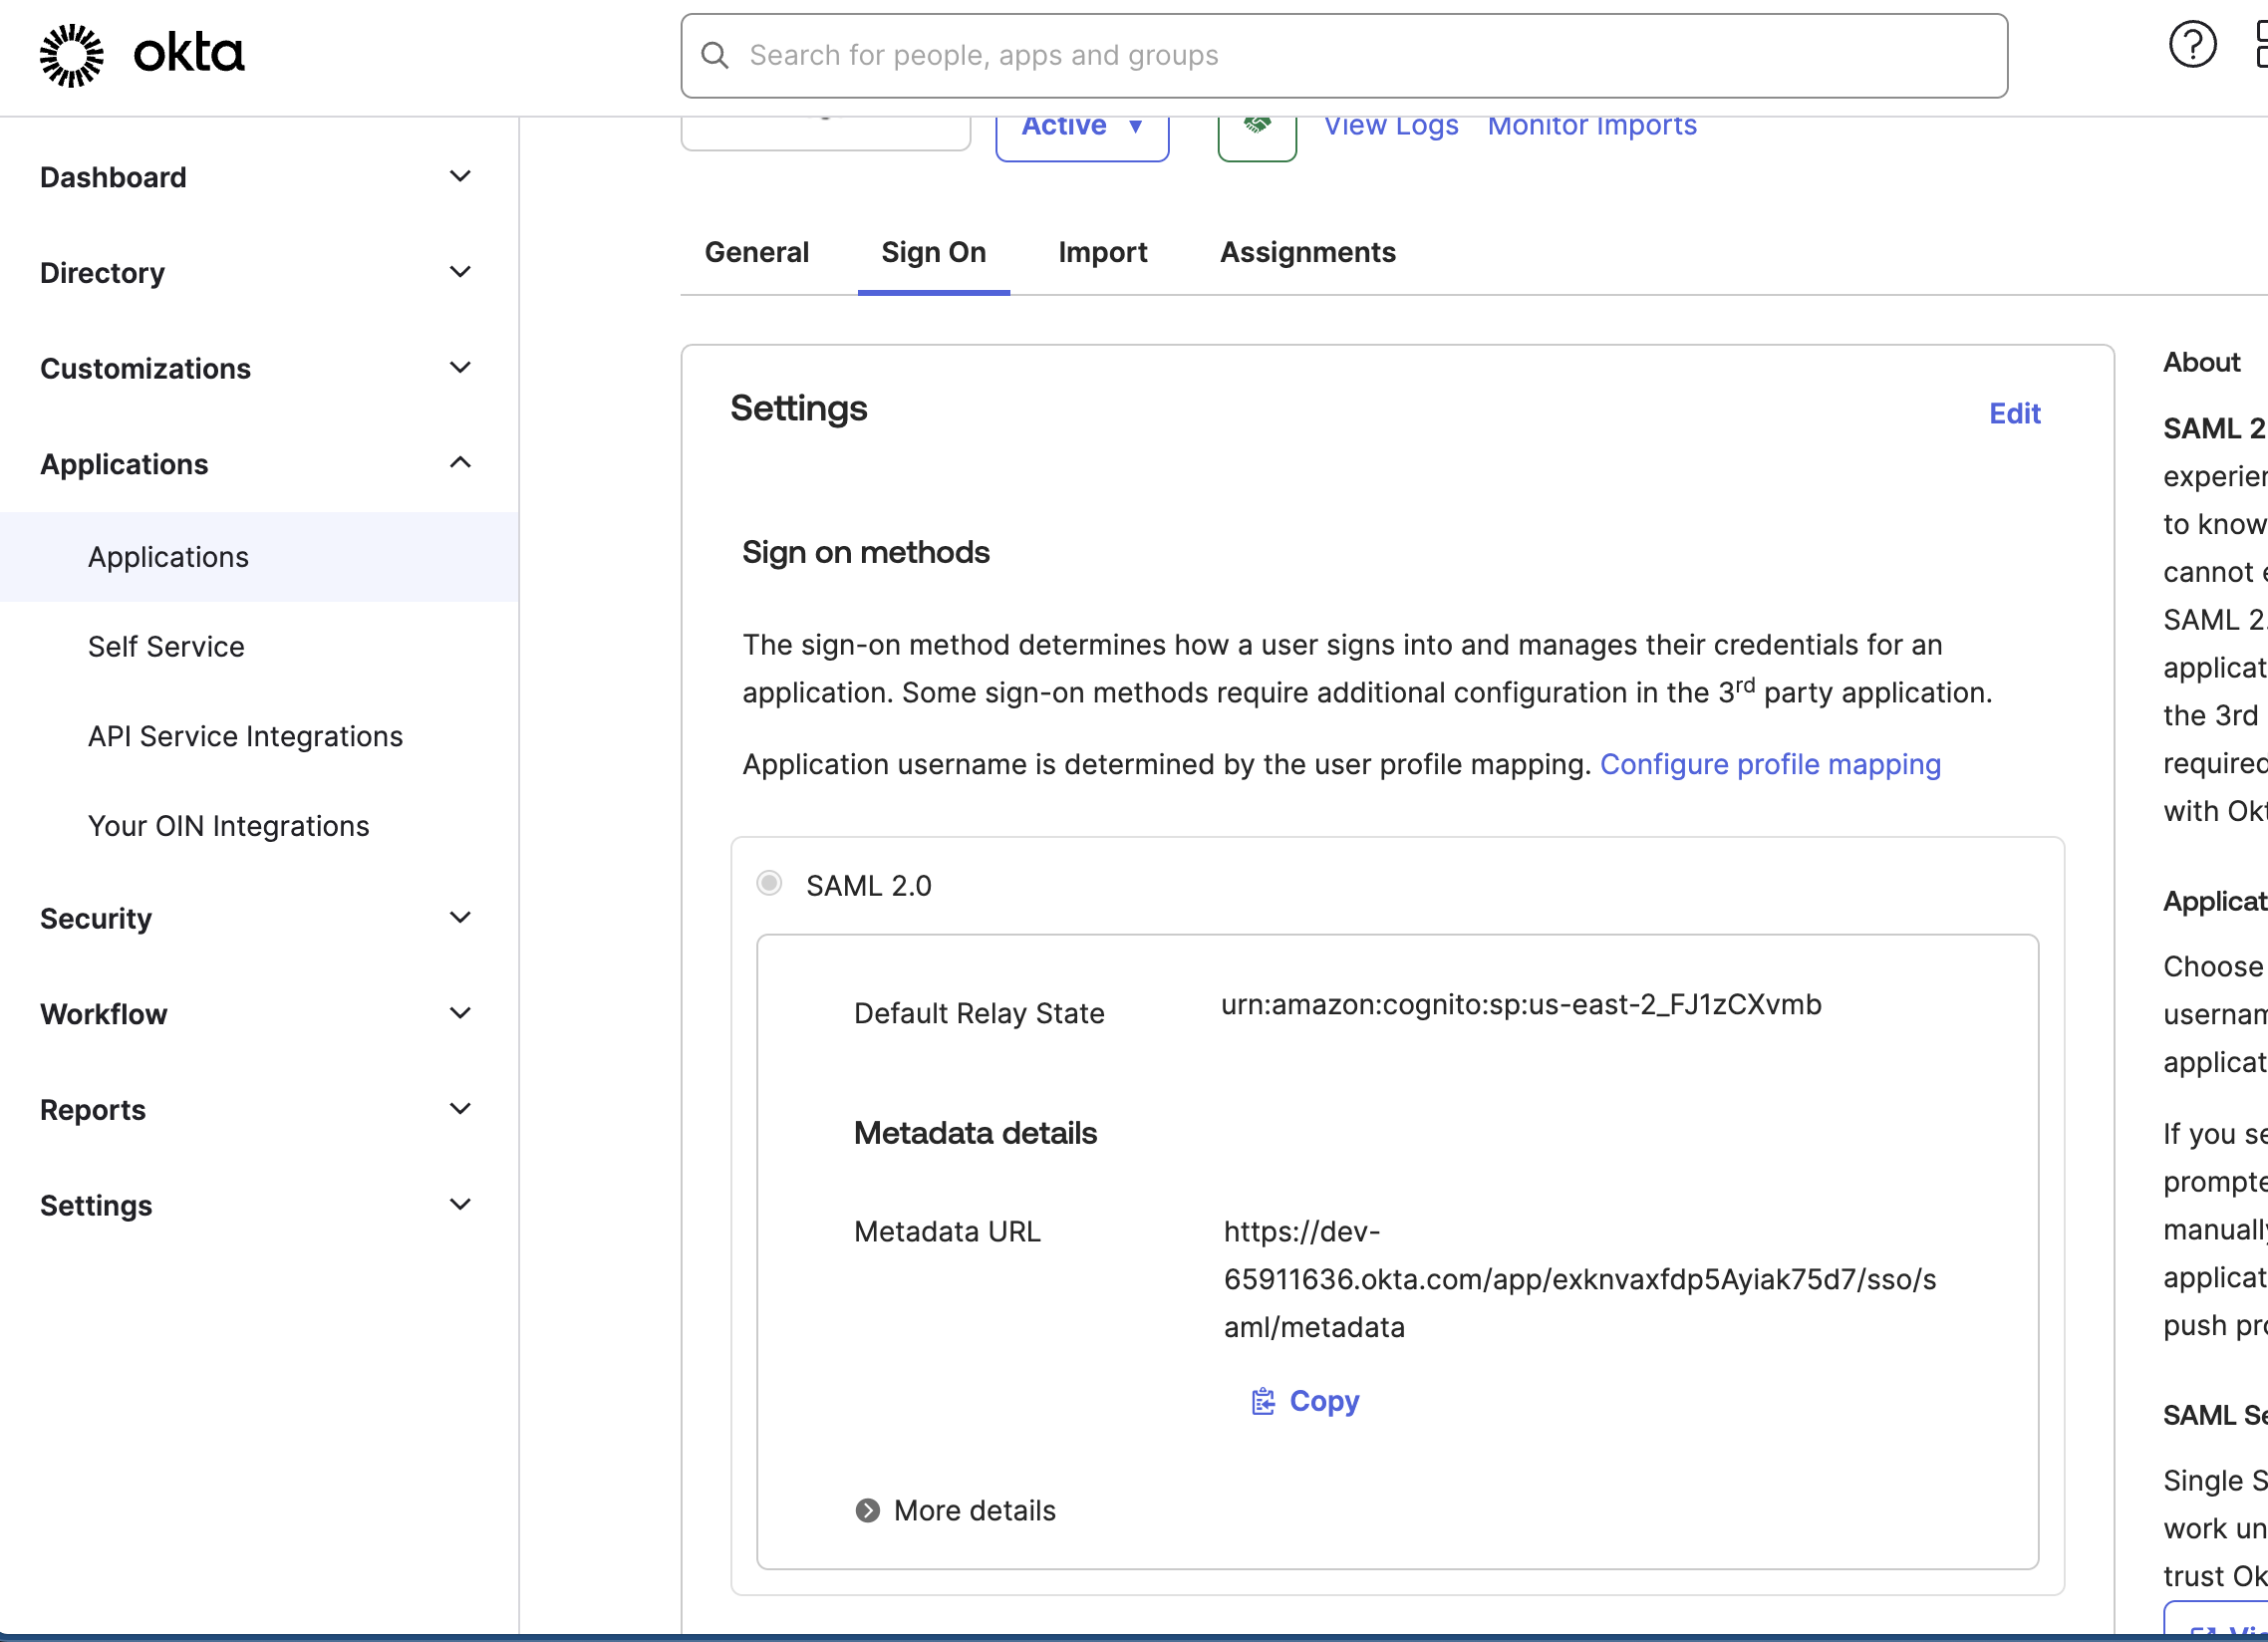 Okta SAML 2.0 sign-on configuration showing relay state and metadata URL for integration with Amazon Cognito.
 - Copy and share this URL with the AppSecEngineer team.
Need to configure SSO with Auth0 instead of Okta? Follow our step-by-step guide on SSO Setup for AppSecEngineer with Auth0 for seamless authentication.
Step 8: Assign Users & Groups
- Ensure that the appropriate users or user groups are assigned to this application.
- Only assigned users will have SSO login permissions.
🎯 Next Steps:
✅ Verify the integration by logging into AppSecEngineer using SSO.
✅ If any issues arise, check user assignments and attribute mappings in Okta.