
Pre-Requisites
- Ensure your organization uses a SAML v2.0 compliant IdP.
- Decide whether to enable SCIM (System for Cross-domain Identity Management) for real-time user provisioning (optional).
Step 1: Enable SSO for Your Account
- Contact the AppSecEngineer Support Team to enable SSO on your account.
- Provide your account details and request SSO activation, this is required to be done via Email as it's a secure unique SSO key which can't be published on publicly accessible channels.
Step 2: Metadata Exchange
- Exchange the Metadata URL between your organization and AppSecEngineer to configure the connection.
- Obtain the necessary metadata (ACS URL and Identifier) from AppSecEngineer’s support team.
Step 3: Configure SSO on Your IdP
-
Log in to your Identity Provider’s admin portal.
-
Add a new application for AppSecEngineer and configure the following details:
- ACS URL: Contact AppSecEngineer support for this value.
- Identifier (Entity ID): Contact AppSecEngineer support for this value.
-
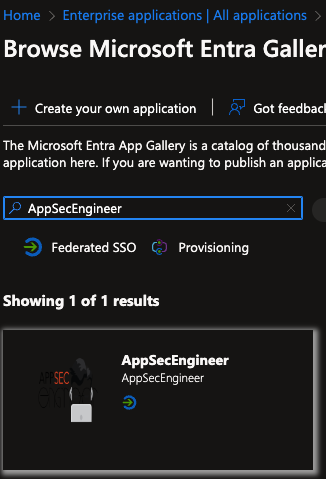 A search in the Microsoft Entra Gallery for "AppSecEngineer" shows one result. The app supports Federated SSO and Provisioning, with options to create a new app or give feedback visible at the top.
 - Add this URL to your configuration: SignOn URL
Also Enhance your user management experience with our SCIM Integration Guide
-
Set Up Attributes and Claims:
- Ensure that the email address attribute is mapped to
user.userprincipalname.
- Ensure that the email address attribute is mapped to
 The "Additional claims" section displays a table with four claims, including their names, types (SAML), and values (e.g., user.userprincipalname, user.givenname, user.surname). An "Advanced settings" option is visible below the table.
Step 4: Testing and Validation
- Save your configuration in the IdP and test the SSO connection.
- Confirm with AppSecEngineer support that the integration is functioning as expected.
Step 5: Optional - SCIM Integration
- If you want real-time user provisioning, request SCIM setup from AppSecEngineer support.
- Follow the SCIM configuration instructions provided by your IdP and AppSecEngineer.
Additional Notes
- Ensure that all details are double-checked during setup to avoid configuration errors.
- Once SSO set up is done, organization's employee records are automatically fetched inside AppSecEngineer and hence administrator is not required to import or add any user manually
- Reports for all DEACTIVATED users will be available in Reports section of AppSecEngineer learning platform even after deactivation of user
- Reports for all DELETED users are deleted permanently from AppSecEngineer learning platform
- Admin can reassign seats 'N" number of times as there is no limitation to delete and reassign seats. Only the total number of seats remain constant as per your organization's subscription